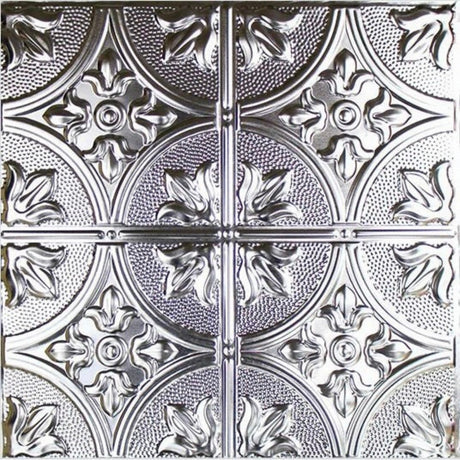
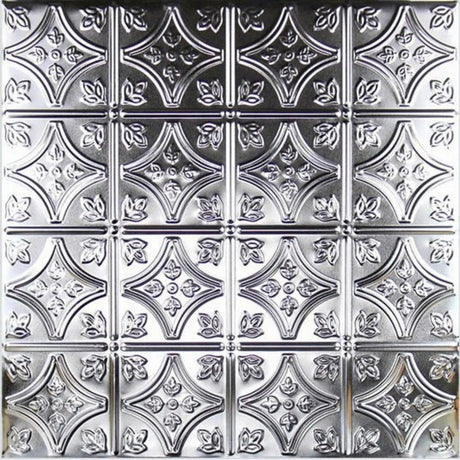
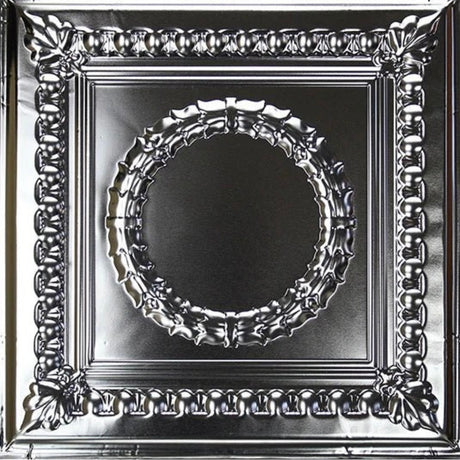
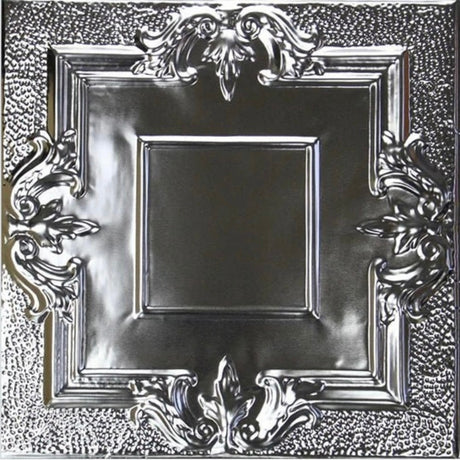
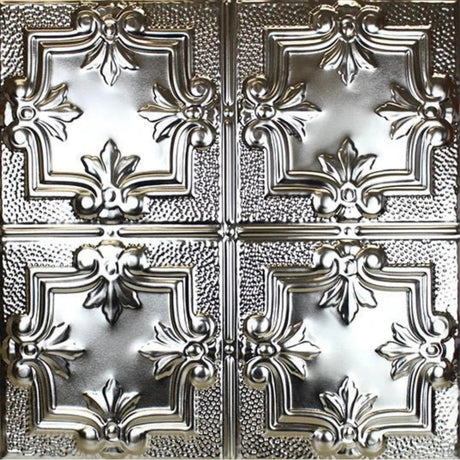
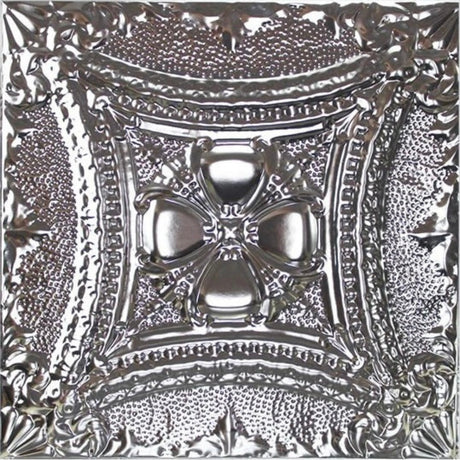
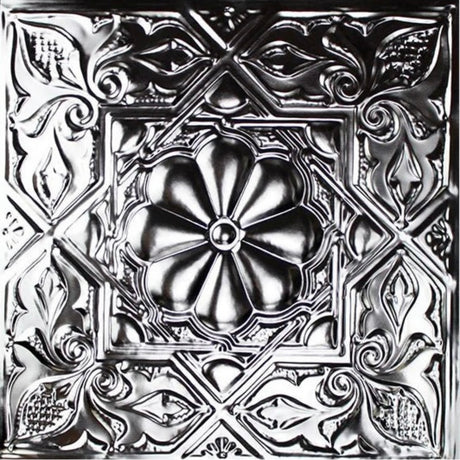
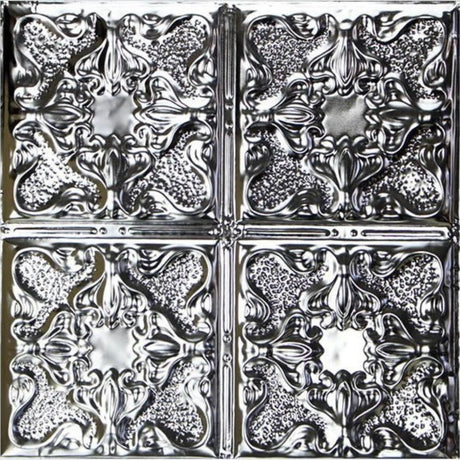
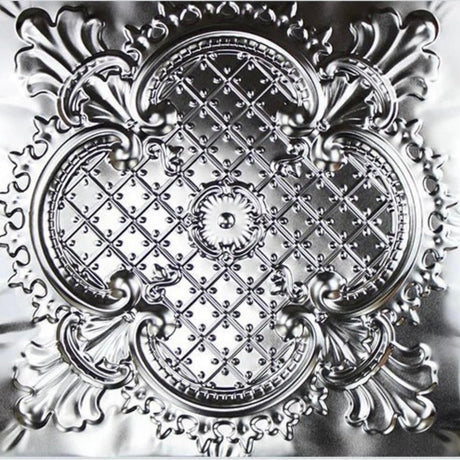
Tin Ceiling Tiles | Pattern 102 | Fleur-De-Lis 12in.
From $9.00 USDUnit price-
Tin Ceiling Tiles | Pattern 103 | Fleur-De-Lis 6in.
From $9.00 USDUnit price -
Tin Ceiling Tiles | Pattern 107 | Circular Heritage
From $9.00 USDUnit price -
Tin Ceiling Tiles | Pattern 110 | Victorian Mirror
From $9.00 USDUnit price -
Tin Ceiling Tiles | Pattern 116 | Traditional Period
From $9.00 USDUnit price -
Tin Ceiling Tiles | Pattern 122 | Embossed Knight
From $9.00 USDUnit price -
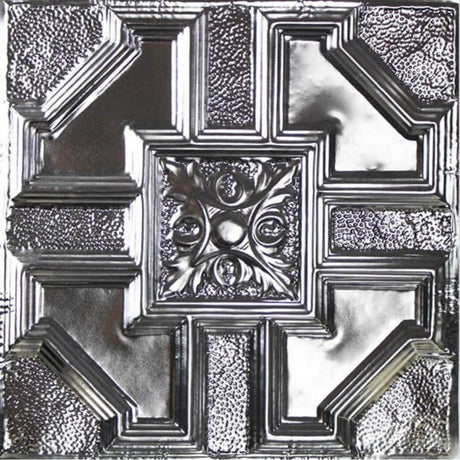
Tin Ceiling Tiles | Pattern 129 | Artisan Medallion
From $9.00 USDUnit price -
Tin Ceiling Tiles | Pattern 109 | Gothic Medallion
From $9.00 USDUnit price -
Tin Ceiling Tiles | Pattern 105 | Vintage Gothic
From $9.00 USDUnit price -
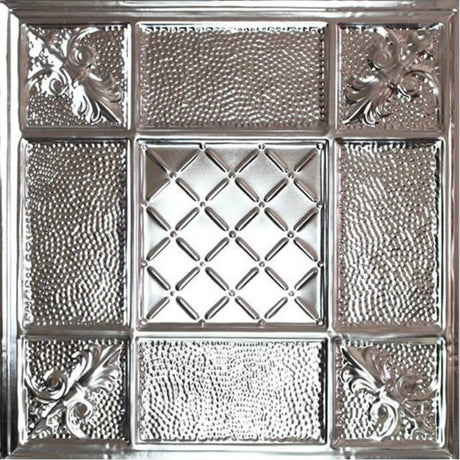
Tin Ceiling Tiles | Pattern 113 | Peened Craftsman
From $9.00 USDUnit price -
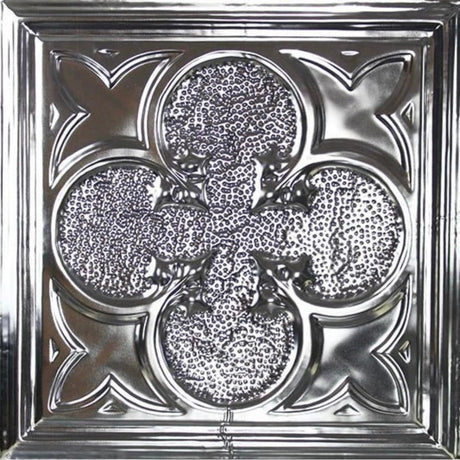
Tin Ceiling Tiles | Pattern 137 | Gothic Prominence
From $9.00 USDUnit price -
Tin Ceiling Tiles | Pattern 108 | Oak Leaf
From $9.00 USDUnit price -
Tin Ceiling Tiles | Pattern 112 | Lucky Clover
From $9.00 USDUnit price -
Tin Ceiling Tiles | Pattern 134 | Four Leaf Clover
From $9.00 USDUnit price -
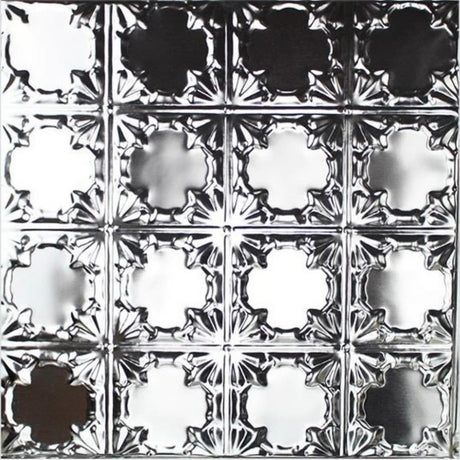
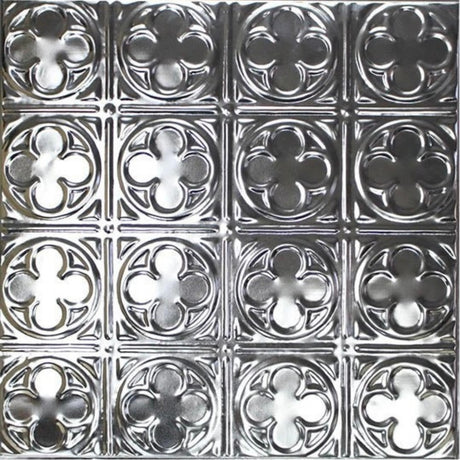
Tin Ceiling Tiles | Pattern 135 | Sixteen Mini Clovers
From $9.00 USDUnit price -
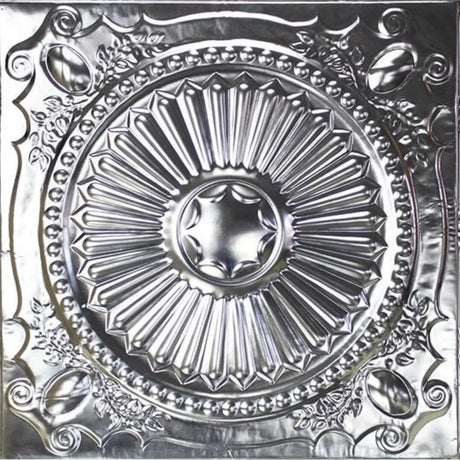
Tin Ceiling Tiles | Pattern 126 | Roman Medallion
From $9.00 USDUnit price -
Tin Ceiling Tiles | Pattern 114 | Mediterranean Pebble
From $9.00 USDUnit price -
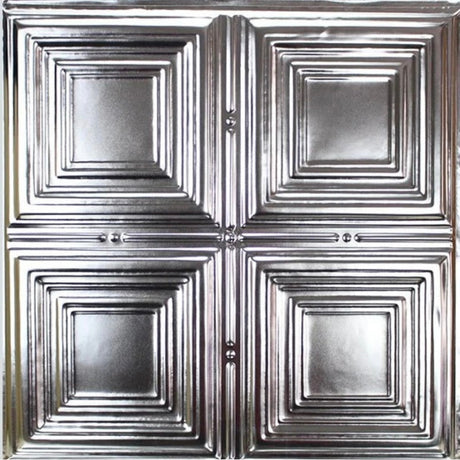
Tin Ceiling Tiles | Pattern 101 | Classic Four Square
From $9.00 USDUnit price -
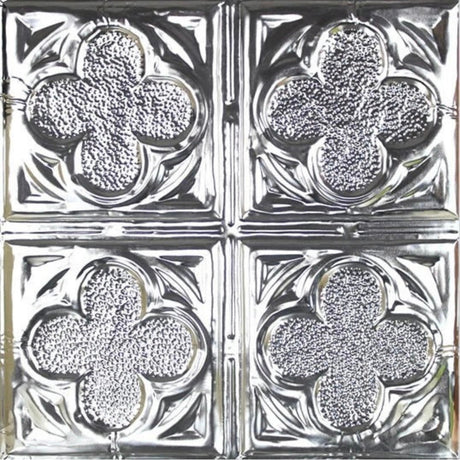
Tin Ceiling Tiles | Pattern 104 | Elegant Clover
From $9.00 USDUnit price -
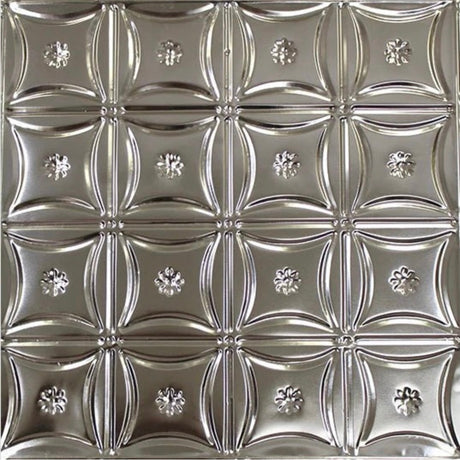
Tin Ceiling Tiles | Pattern 130 | Sixteen Flowers
From $9.00 USDUnit price -
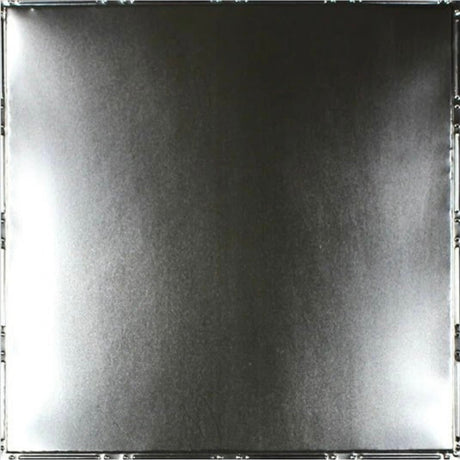
Tin Ceiling Tiles | Pattern 140 | Blank
From $9.00 USDUnit price -
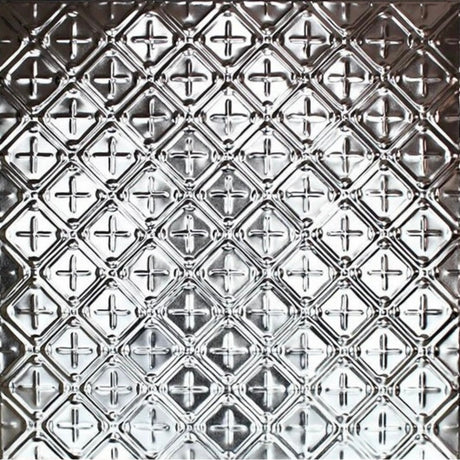
Tin Ceiling Tiles | Pattern 143 | Cross Hatch Filler
From $9.00 USDUnit price